APPLICATION SECURITY TESTING FOR ENTERPRISE
Thousands of web assets to secure? No problem.
Dramatically reduce your risk of attacks. Get accurate, automated application security testing that scales like no other solution.


Looking into application and API vulnerability testing? Ask the right questions.
Get the web application security buyer’s guide and checklist
AUTOMATION
Automate security throughout your SDLC
Your security challenges grow faster than your team. That’s why you need security testing automation built into every step of your SDLC.
- Automate security tasks and save your team hundreds of hours each month.
- Identify the vulnerabilities that really matter — then seamlessly assign them for remediation.
- Help security and development teams get ahead of their workloads — whether you run an AppSec, DevOps, or DevSecOps program.


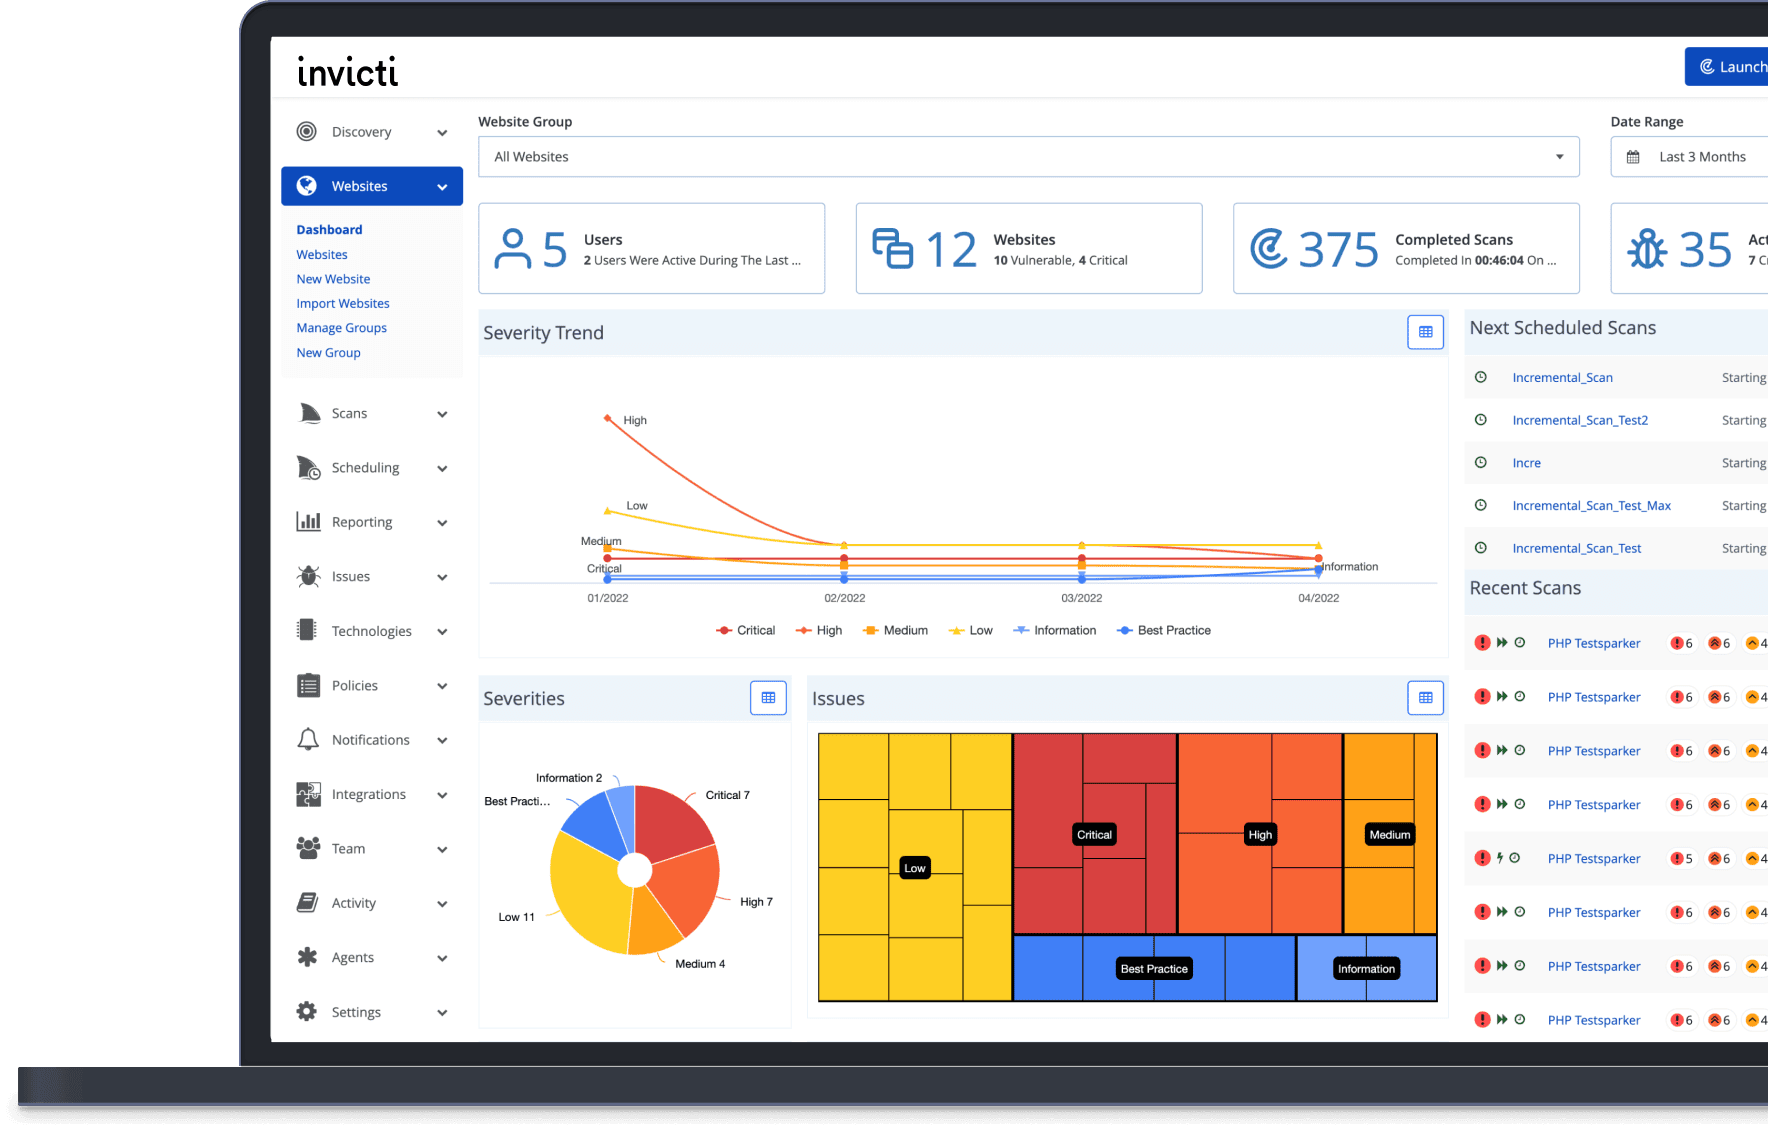
VISIBILITY
See the complete picture of your app security
Without complete visibility into your apps, vulnerabilities, and remediation efforts, it’s impossible to prove you’re doing everything you can to reduce your company’s risk.
- Find all your web assets — even ones that have been lost, forgotten, or created by rogue departments.
- Scan the corners of your apps that other tools miss with our unique dynamic + interactive (DAST + IAST) scanning approach.
- Always know the status of your remediation efforts, through Invicti or native integrations with your issue tracking and ticketing software.
PROVEN ACCURACY
Find the vulnerabilities other tools miss
Head-to-head tests by independent researchers show that Invicti consistently identifies more vulnerabilities than other scanning tools. And returns fewer false positives.
- Find more true vulnerabilities with our unique dynamic + interactive (DAST + IAST) scanning approach.
- Let no vulnerability go unnoticed with combined signature and behavior-based testing.
- Detect vulnerabilities quickly with comprehensive scanning that doesn’t sacrifice speed or accuracy.


SCALABILITY
Manage risk like a team 10x your size
Security bottlenecks. Complex infrastructure. Your ever-growing list of vulnerabilities. It’s no surprise that teams like yours are overwhelmed by the sheer volume of work in front of them. Take control with scalable security testing that makes life easier for your security team.
- Reclaim the hundreds of hours your team spends chasing down false positives with features that confirm which vulnerabilities are real threats.
- Integrate security testing into your entire SDLC with powerful two-way integrations into the tools your development team already uses.
- Control permissions for unlimited users — no matter how complex your organization’s structure
PROACTIVE SECURITY
Prevent vulnerabilities by producing more secure code
The longer a vulnerability lasts in your SDLC, the more costly it is to fix. Invicti helps you prevent vulnerabilities by showing your developers how to write more secure code in their existing environment. Because the easiest vulnerabilities to manage are the ones that never exist in the first place.
- Build security into your culture by integrating Invicti into the tools and workflows your developers use daily.
- Give developers access to actionable feedback that helps them produce more secure code — which means less work for your security team.
- Prevent delays with continuous scanning that stops risks from being introduced in the first place.


See how Invicti makes it easier to reduce vulnerabilities at scale
Explore how companies keep thousands of web assets secure with Invicti

Shay Chen
Information security, analyst, tool author and speaker
“Invicti is Stable, Accurate and Versatile, with a lot of thought put into each of its features. An excellent product in the arsenal of any security professional.”

Troy Hunt
Software architect & Microsoft MVP
“I’ve long been an advocate of Invicti without incentivisation simply because I believe it’s the easiest on-demand, do it yourself dynamic security analysis tool for the audience I speak to. Web application security scanning done nicely.”

Scott Helme
Security researcher and entrepreneur, Scotthelme.co.uk
“In my years as a security specialist I’ve used many different tools for DAST and Invicti has consistently been at the forefront of both experience and results. It’s simple to use without sacrificing capability.”